3 Simple Methods: How to Capture a Screenshot on a Mac

Screenshots are a vital part of our everyday lives, and learning to do them fast might be helpful too. You can snap stills of nearly anything on the screen, whether it’s an ordinary workday or online lessons. These screenshots may be saved in JPG or PNG format and sent to your group via multiple channels.
We decided to provide you with some advice regarding the newly released Windows 11 operating system. This essay will show you how to take on your macOS computer. Apple’s operating system for the MacBook Air, Pro, and iMac allows you to snap screenshots in four ways.
How to take a screenshot on macOS
Depending on the kind of screenshot you want, there are four simple ways to take one on a macOS device:
1. How to capture the whole screen on a Mac
Command + Shift + 3: Clicking Command + Shift + 3 will bring up the full-screen option. This allows you to capture the full screen. It resembles the Print Screen key seen on Windows computers.
You should see your screenshot appear in a new window. You may either click on it to edit your snapshot or wait a little while for the window to close and save your screenshot.
2. How to screenshot a specific area of the screen
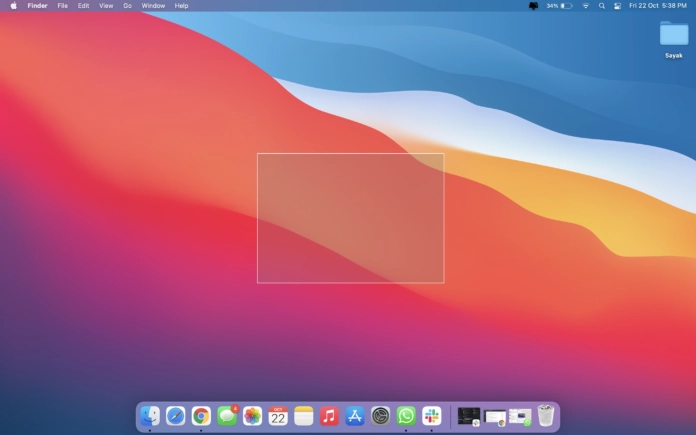
Command + Shift + 4: To do this, you must use a somewhat more complex technique. Command + Shift + 4 is the default shortcut for taking screenshots of particular screen areas. After pressing the keys above, a crosshair would emerge, allowing you to click and move the crosshair over the screen area you wish to capture.

3. How to screenshot a window or a particular program
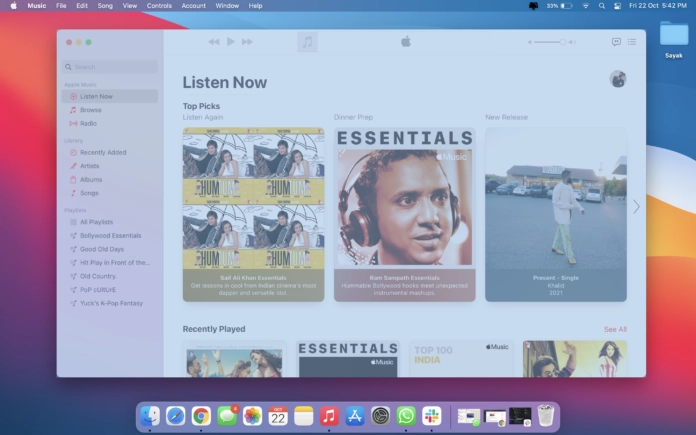
You may use the button combination Command + Shift + 4 and then click Space to take a screenshot of a specific window or application. The crosshair will be replaced with a camera icon, allowing you to take screenshots of a particular window.

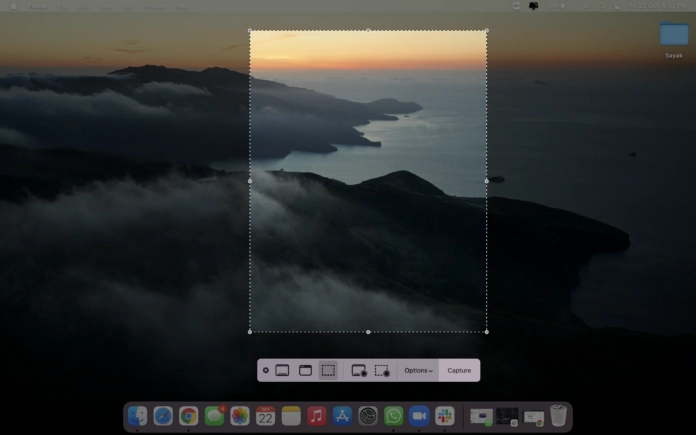
To take a screenshot on a macOS laptop or computer, use Command + Shift + 5. The advantage of this approach is that all functionalities are available in one location. After pressing the combination, a pop-up bar with various functions emerges. You may capture a screenshot of the whole screen, a specific area, a window, or an app. Furthermore, you may record the entire screen or a specific area using the panel. By using the Escape key, you can leave it.

Shift + Command + 6: The Touch Bar on your keyboard might provide an additional method to take a screenshot if you use a MacBook Pro from 2016 or later. You may quickly access screenshot shortcuts on your Touch Bar by pressing Command + Shift + 6 to bring up your keyboard.
On macOS PC, where are the screenshots saved?
Shots taken on your macOS device are default saved to your desktop. However, you may alter the place where your snapshot is saved. When you press Command + Shift + 5, a window will appear with an Options button. You may pick Other Location from the Save to part of Options and a folder section of your choosing.