Windows 11: How to disable automatic brightness

Today’s notebooks are incredibly complex in terms of technology, functionality, and features, with complex cooling systems and tons of internal components packed seamlessly into the smallest possible space.
Each brand designs the exterior of their laptops to be attractive. Still, utilities and technologies are also used to improve the user experience, and it is common for many of them to go unnoticed and other operating system utilities. Especially now with the arrival of Windows 11, which we can install by following this guide or discover all its new functionalities if we do not want to use a Microsoft account this other.
[ads1]
One of those technologies is that of adaptive brightness. We all know that laptop screens have adjustable brightness and can be controlled from various options in Windows. Still, not everyone knows that in recent years it has been done every time more popular a new way to adapt the brightness according to what is displayed on the screen. This works by identifying the clarity of the content being displayed, and if it is mainly light, the brightness is raised or left the same, and if it is primarily dark, it is reduced to save battery life.
This battery-saving technique began to be seen a few years ago in some models that included it in manufacturer utilities, such as some high-end Dell brand laptops. Still, it is currently included in most laptops as standard, and its control will depend on the graphics card of each computer.
How to disable automatic brightness in Windows 11
Currently, we can find this technology in almost all new notebooks with Intel or AMD CPUs, known by the name of “Screen energy-saving technology” in the former, and by the name of “Vari-Bright” in the case of the former. Issue of the latter. To control it, we will have to go to the respective control panels of the integrated graphics of the CPU, so if we have a laptop with separate dedicated graphics from either Nvidia or AMD, we will not find the settings for this technology there.
If this technology is uncomfortable for us or we want to deactivate or activate it in our computer, then we will explain how to do it either our Intel or AMD CPU:
- Ensure you have the integrated graphics drivers installed and updated: as we have just said, these technologies depend on those drivers, so we will have to install or edit them to get the most out of the technology.
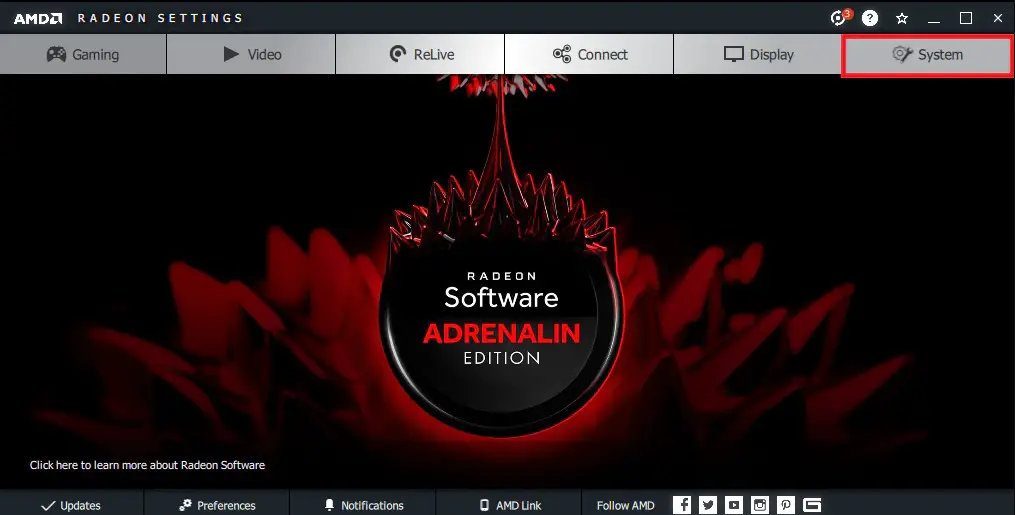
- Enter the drivers: this can be done by right-clicking on the desktop and going to ” Radeon Settings ” for AMD or ” Graphics Command Center ” for Intel, or you can also search for their names in the Windows search engine.
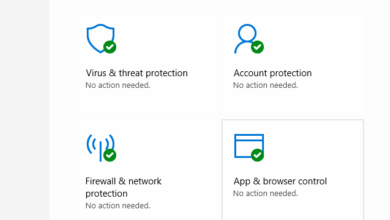
3. Find the setting: In Intel’s case, we will have to go to the system and the energy section, where the information about our battery will appear and below the setting on the automatic brightness.
In the case of AMD, we will have to open the Radeon control panel and go to the screen tab, where we will see a section at the bottom right called ” Vari-Bright ” along with a switch and a slider to control its action.
4. Modify the setting: once we are there, we can see that we have various degrees of action of this technology for battery saving in both Intel and AMD. If we want to leave it activated, we can play with the different degrees, and if we’re going to deactivate it, it will be enough to deactivate the switch of the battery-saving options in Intel and that of the Vari-Bright in AMD.
How to activate automatic brightness depending on ambient lighting
We also talk about the fact that apart from the brightness according to what is shown on the screen, you can also control the brightness of the screen without referring to what is shown on it from Windows, even some computers incorporate ambient light sensors and can handle it automatically, in which case if we want to activate or deactivate this function either in Windows 10 or 11 we can follow these steps:
- Enter the screen settings: we can do this easily by right-clicking on the desktop and clicking on the screen configuration option.
- Set the brightness: on that page, at the top, we will see the option to activate and deactivate the automatic brightness and regulate the brightness of our screen manually.
Pros and cons of automatic brightness control systems
These technologies have the main objective of reducing battery consumption and increasing its duration, that is why it can be seen on laptops, but sometimes it can be uncomfortable to have them activated, especially if we make many changes between applications with light and dark backgrounds or if we are moving with the laptop changing between spaces with a lot of and low light.
[ads2]
On the other hand, we save the battery by having it activated. At the same time, we use our computer since, for laptops that are not Gaming and are more focused on work, the screen will be one of the parts that consume the most energy in everyday use.
By adjusting the brightness intelligently, you can get a lot of extra battery time, so everyone will have to assess whether these automatic changes in brightness bother them or can live with them on their computer.